
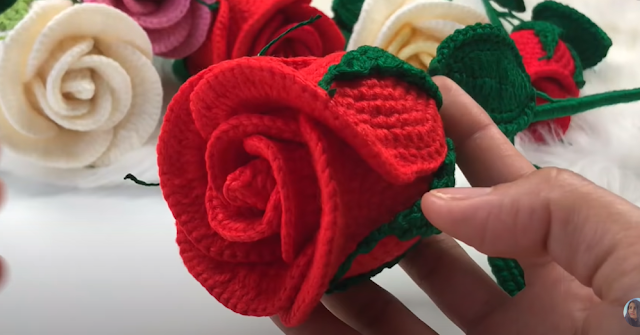
To make a beautiful long stem rose,
you can use a combination of crochet and other crafting techniques. Here's a
step-by-step guide to help you create one:
Materials you'll need:
- Craft wire (16 or 18 gauge)
- Green floral tape
- Scissors
- Hot glue gun
- Silk or fabric petals in your desired rose color(s)
- Green fabric or ribbon for leaves
- Wire cutters
- Pliers


- Prepare the stem:
- Cut a length of craft wire to your desired length
for the stem. A typical length for a long stem rose is around 12-18 inches. - Use pliers to shape a small loop at one end of the
wire. This will prevent the petals from sliding off. - Wrap the stem:
- Starting from the looped end, wrap the craft wire
with green floral tape. Begin wrapping tightly and continue all the way
down to the end of the wire. - The floral tape will give the stem a realistic
green appearance and provide a good surface for attaching leaves later
on. - Attach the petals:
- Take a silk or fabric rose petal and fold it in
half. Apply a small amount of hot glue along the folded edge. - Starting from the bottom of the stem, press the
folded edge of the petal onto the stem with the hot glue, slightly
overlapping the previous petal. - Continue attaching petals in a spiral pattern,
working your way up the stem. Adjust the angle and overlap of the petals
to create a natural-looking rose shape.

- Add leaves:
- Cut leaf shapes from green fabric or ribbon. You
can use a leaf template or create your own shape. - Apply a small amount of hot glue to the back of
each leaf and attach them to the stem, spacing them out evenly along the
length of the stem. - Shape and adjust:
- Once all the petals and leaves are attached, use
your fingers to shape and adjust the petals, creating a fuller and more
realistic appearance. - Gently curve and bend the petals outward, giving
the rose a natural and open look. - Secure the petals:
- Apply a small amount of hot glue between the petals
to secure them in place, especially at the base of the rose. - Be careful not to use too much glue, as it can
weigh down the petals and make the rose look unnatural. - Finish the stem:
- Trim the bottom of the stem if needed, ensuring it
is even and flat. - Wrap the bottom part of the stem with green floral
tape to cover any exposed wire.

Your beautiful long stem rose is
now complete! Repeat the steps to make more roses, experimenting with different
colors and petal arrangements. These roses can be used as decorative elements
in bouquets, centerpieces, or as standalone pieces. Enjoy the process and have
fun creating your stunning long stem roses!
No comments:
Post a Comment